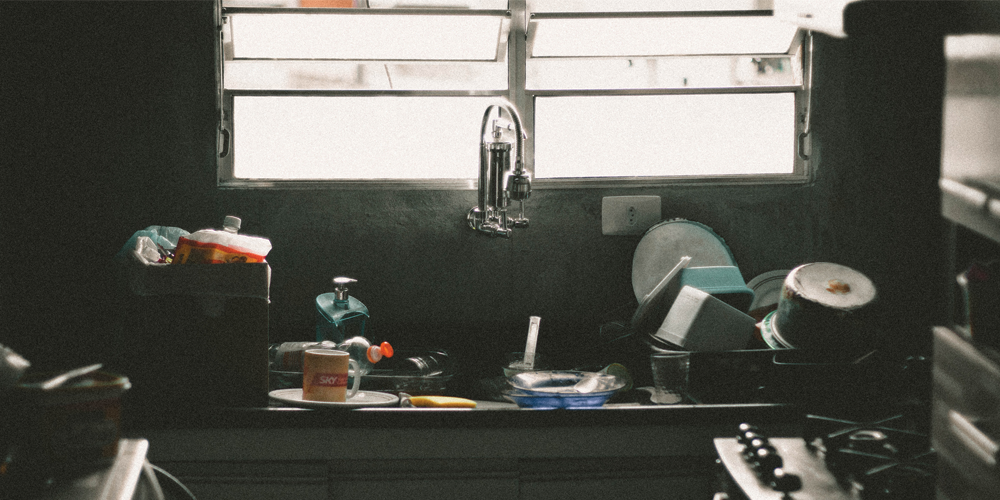
As fun and exciting as cooking can be, the aftermath is usually a messy kitchen full of dirty utensils. In this part of the world, we have people over a lot and host parties as often as we can for every occasion. It’s always fun to have people over and have a nice time. However, after all the fun and festivities you’re often left alone to wash up the piled-up dishes and clean your dirty utensils. When faced with such situations you contemplate throwing some utensils away because you’re not sure how to get some of the burnt and other stubborn stains off them.
In this article, we’ll be exploring all the methods you can employ to clean your kitchen utensils and keep them sparkling. Washing utensils doesn’t have to be a daunting process, it can be easy and seamless once you know the right thing to do. We’re going to give you a breakdown of how to wash kitchen utensils with baking soda, how to clean wooden kitchen utensils and, how to sterilize them for maximum safety.
Cleaning Kitchen Utensils by Hand
Step 1: Wipe off Leftover Food
Leftover food on utensils will contaminate the cleaning water, making the cleaning process less productive. Clean off any big chunks of food stuck to the utensil with a napkin or tissue. Don’t bother yourself with small stubborn stains that refuse to wipe off. They will come off when you wash the utensils.
Step 2: Fill your Kitchen Sink with Hot Water
Plug your sink and pour hot water in. Add approximately 1 tablespoon of liquid soap into the water as the sink fills up. Read the label of the dishwashing liquid bottle to determine the proper amount of liquid to use, as some cleaning products don’t require you to use that much.
Step 3: Add Baking Soda to the Mix
Baking soda is a perfect addition to the mix because it’s an excellent natural cleaner. It aids in breaking down stains and removing bad odors. For extra cleaning power, mix two tablespoons of baking soda with the water and dishwashing liquid.
Step 4: Soak the Dirty Kitchen Utensils
Soak the dishes to soften the stubborn stains and make them easier to wash off. You can put in the utensils that are very stained last so the water doesn’t get too dirty.
Step 5: Scrub Each Utensil
Place the utensils inside the sink and clean them with a dish brush or sponge. Scrub each utensil until all the food is removed.
Here are different types of Dish Washing Brushes and Sponges (link to the post)
Step 6: Rinse each Kitchen Utensil
After washing the utensils, thoroughly rinse them with running water from the tap. Make certain that all cleaning agents are completely removed.
Step 7: Dry the Utensils
Allow the utensils to air dry or dry with a lint-free dish towel. Return each utensil to its proper place after drying. Alternatively, leave the utensils to dry naturally on the drying rack. This option is simple and prevents stainless steel utensils from becoming splotchy. If you air-dry your utensils, make sure they are not stacked on top of each other because this will prevent the air from transferring and drying them.
Cleaning Wooden Utensils
Wooden utensils can be harder to clean than their stainless steel counterparts, they also retain odors, both good and bad so they require more care. Here is a step-by-step process for cleaning your wood utensils.
Step 1: Scrub with Hot Soapy Water
Use a scrubbing brush to remove food particles from your wooden utensils, then wash with a dish sponge or brush and soapy water. Don’t worry if there are stains left after the initial wash.
Step 2: Apply Salt, Lemon, and Baking Soda to stains
Lemon has acidic components that help eliminate all odors when paired with salt it scrubs off most tough stains. Cut a lemon in half then add salt to the surface of one of the lemons. Use the lemon and salt to scrub the wooden utensils, if there are still some stains left you can use baking soda and lemon juice to get them off.
Step 3: Rinse
Once you’re done with the cleaning process, rinse off all residue with water. Make sure you rinse off all the cleaning agents.
Step 4: Dry Utensils In the Sun
Naturally sundry your wooden utensils to lighten stains, keep them fresh, and eliminate all odors. It should take about one hour for them to completely dry. If it’s not a sunny day you can air-dry inside the kitchen.
