Wood is quite different from the upholsteries in your home or office space. Quite durable in nature, wooden furniture is often designed with serious staying power and timeless relevance in terms of “aesthetic appeal” – they never go out of style; from tables to chairs, woods are always featured in our homes, farmhouses, business places, office space and often used in exotic locations e.g Royal palace. It’s everywhere.
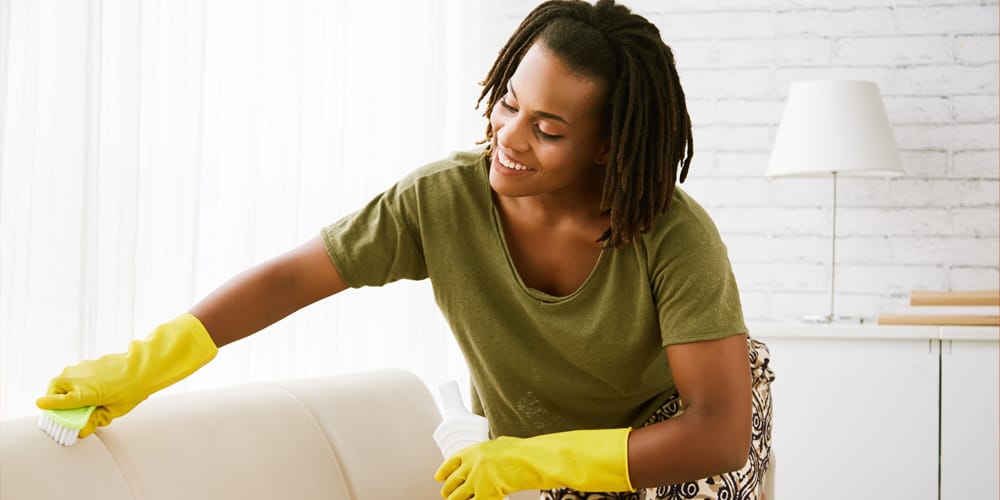
Due to its nature, most of us find it quite easy to clean unlike the upholsteries – we simply wipe with a duster or piece of clothing when the wood furniture shows signs of dirt or grime on it! Easy, little effort, and time-saving. However, it might be complicated to clean your wood furniture effectively sometimes. Just like your upholstery, woods are made of diverse types; you could have mid-century modern with a light or dark finish or an option with a more traditional set-up, having great bones. Sometimes, when we try to dust off the grim, we are left with several shiny streaks – this can be frustrating. At other times, we find out that the grime or dirt can’t be removed.
Unlike the Upholsteries, which covers you may wipe with a sponge or wash with a device, there are a number of terms that get tossed around when it comes to wood furniture maintenance. From cleaning to dusting, polishing, waxing; all of which are done to keep the wood spotless and looking its best. Although a lot of people have their diverse opinions on how to clean and care for your wood furniture, the cleaning technique you use depends on the exact piece you own but here are some simple steps to take that are relevant to all types of wooden furniture:
#1. Dust! Dust!! Dust!!!
Dust is everywhere, hiding the beauty of everything it lays on. Not only is dust liable to build up a layer of film on your wooden furniture, it could also pose threats to your health via allergies. Most of us are guilty of spreading accumulated dust by using a dry cloth on the surface of the wood when cleaning – however, this scatters the dust in the air where it’ll float before landing back on the surfaces you just cleaned. The proper way to dust is to capture the dust in one place then you dampen a piece of clothing, using it to wipe it down!
#2. Wipe
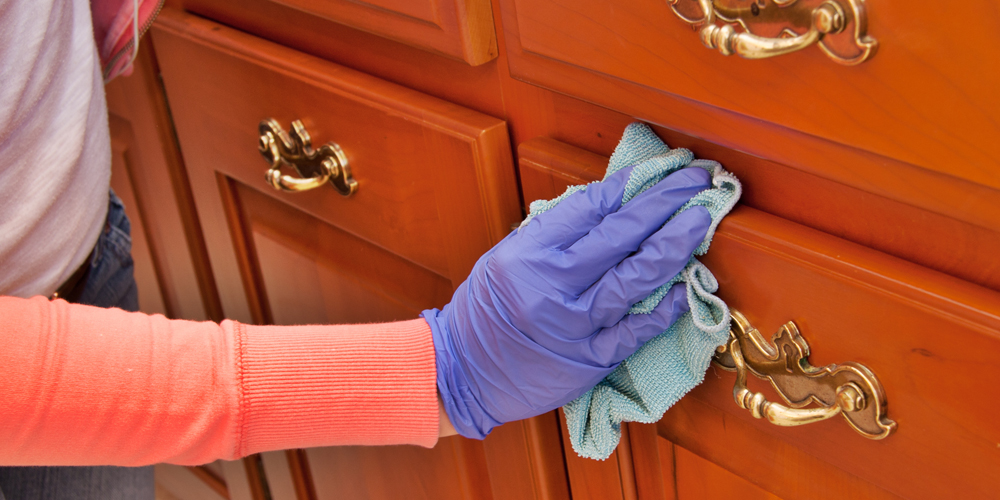
Avoid cleaning your wooden furniture with water, especially if such wood has a plastic coating. However, you can wipe out sticky spots on the wood with soap and water – this doesn’t mean you wash like you do with cloth covers. Simply soak a piece of cloth in water mixed with mild detergent, squeeze to near dryness then wipe the affected area on your wooden furniture. After that, rinse and dry with another (dry) soft cloth.
#3. Polish
With an ABRO Furniture Polish, you give your wooden furniture a protective layer that protects your wood when exposed to a certain temperature. Avoid using olive oil because oily polish would leave your surface more slippery, making it more liable to attract more dust.
** If you find a repugnant mold of fungi on your wood, you should do this:
a. Use the soft brush attachment in your vacuum cleaner to pick up bacteria.
b. Dip a cloth in water mixed with detergent; wring such cloth to nearly dry, then wipe the area
c. Rinse and immediately dry with a soft, clean cloth
BLOG IV
CARE TIPS FOR YOUR WOODEN FURNITURE
Your wooden furniture is an integral part of home/office décor – undoubtedly your house or office will look incomplete without it. From our night stand to bedframe, dining table, bookshelves etc.; these wooden furniture often provides order and decency to your items.
Asides its ability to ensure order, it is one of your assets that can last you a lifetime; its durability is structured in such a way that it can be transferred to your kids and many more generations to come, if properly taken care of. With immense care and attention, you can keep them looking their best for years of enjoyment without need for repairs. Here are a couple of tips on how you can manage and ensure your wooden furniture lasts long and is looking its best for years to come and through multiple generations.
#Tip 1: Protect your wood
Most of us are guilty of using hot items directly on the surface of these woods; this could cause loads of damage – one that could make you make you discard it. You need to always protect your wood with coasters, trivets or holders when setting hot things on it. You could also use tablecloth or decorative placemats to protect your table from hot spills.
#Tip 2: Dust Often
One of the chores no one likes is dusting but it’s one great way to keep your wood from having buildups from airborne particles. Frequent dusting with a piece of soft clothing will enable you to reach areas of the wood that can attract and hold dust so damages can be prevented.
#Tip 3: Treat Wear and Tear
Your wooden furniture is something that you use all the time – most likely more than anything else in your home/office. As a result, they are bound to sustain injuries – face wear and tear. For this reason, it is quite important that extra caution should be given when it comes with your furniture. No doubt, there would exist scratches and incisions but in using products like the AbroGard Clear Wood Lacquer, you can treat and hide these cuts and restore the inherent beauty of your wooden furniture. However, if the damage on the surface is too wide to be treated with a polish, then you might need to resort to painting it – this will give it a new outlook and keep it durable for more years
#Tip 4: Avoid exposing it to harsh environment
Heat, sun and cold can wreak damage on your wooden furniture; therefore, avoid placing them in front of cooking fire, naked lights, uncovered windows and vents as all of these could release certain bacteria that could cause havoc on the wood.
#Tip 5: Ensure you clean your wood frequently
It is necessary that you engage in some cleaning so your wood does not get damaged completely. Dusting is cool but it isn’t enough. Be sure to follow up the tips I recommended for effective cleaning of your wood furniture (link to the previous blog post)
Final tip
Sometimes, your wooden furniture can become overly dry; in this instance, you’ll need to re-oil it by applying the ABROs on your furniture. Also, you can sprinkle the surface with some ABROs Air Freshner to keep it smelling fresh and make your furniture good as new.